
Java Web App with Maven
using code.visualstudio.com
Prerequisites
Maven, Java 1.8 or newer, These VS Code extensions:
Java Extension Pack- Language support for Java™ for Visual Studio Code
Java Linting, Intellisense, formatting, refactoring, Maven/Gradle support and more… - Debugger for Java
- Java Test Runner
- Maven for Java
Manage maven projects, execute goals, generate project from archetype, improve user experience for Java developers.
Create Maven Project
In the Command Palette, go directly to the commands Ctrl+Shift+P
Maven: Create Maven Project
Select the
Or in the explorer sidebar, expand Maven Projects, Select the + sign to create a Maven Project.
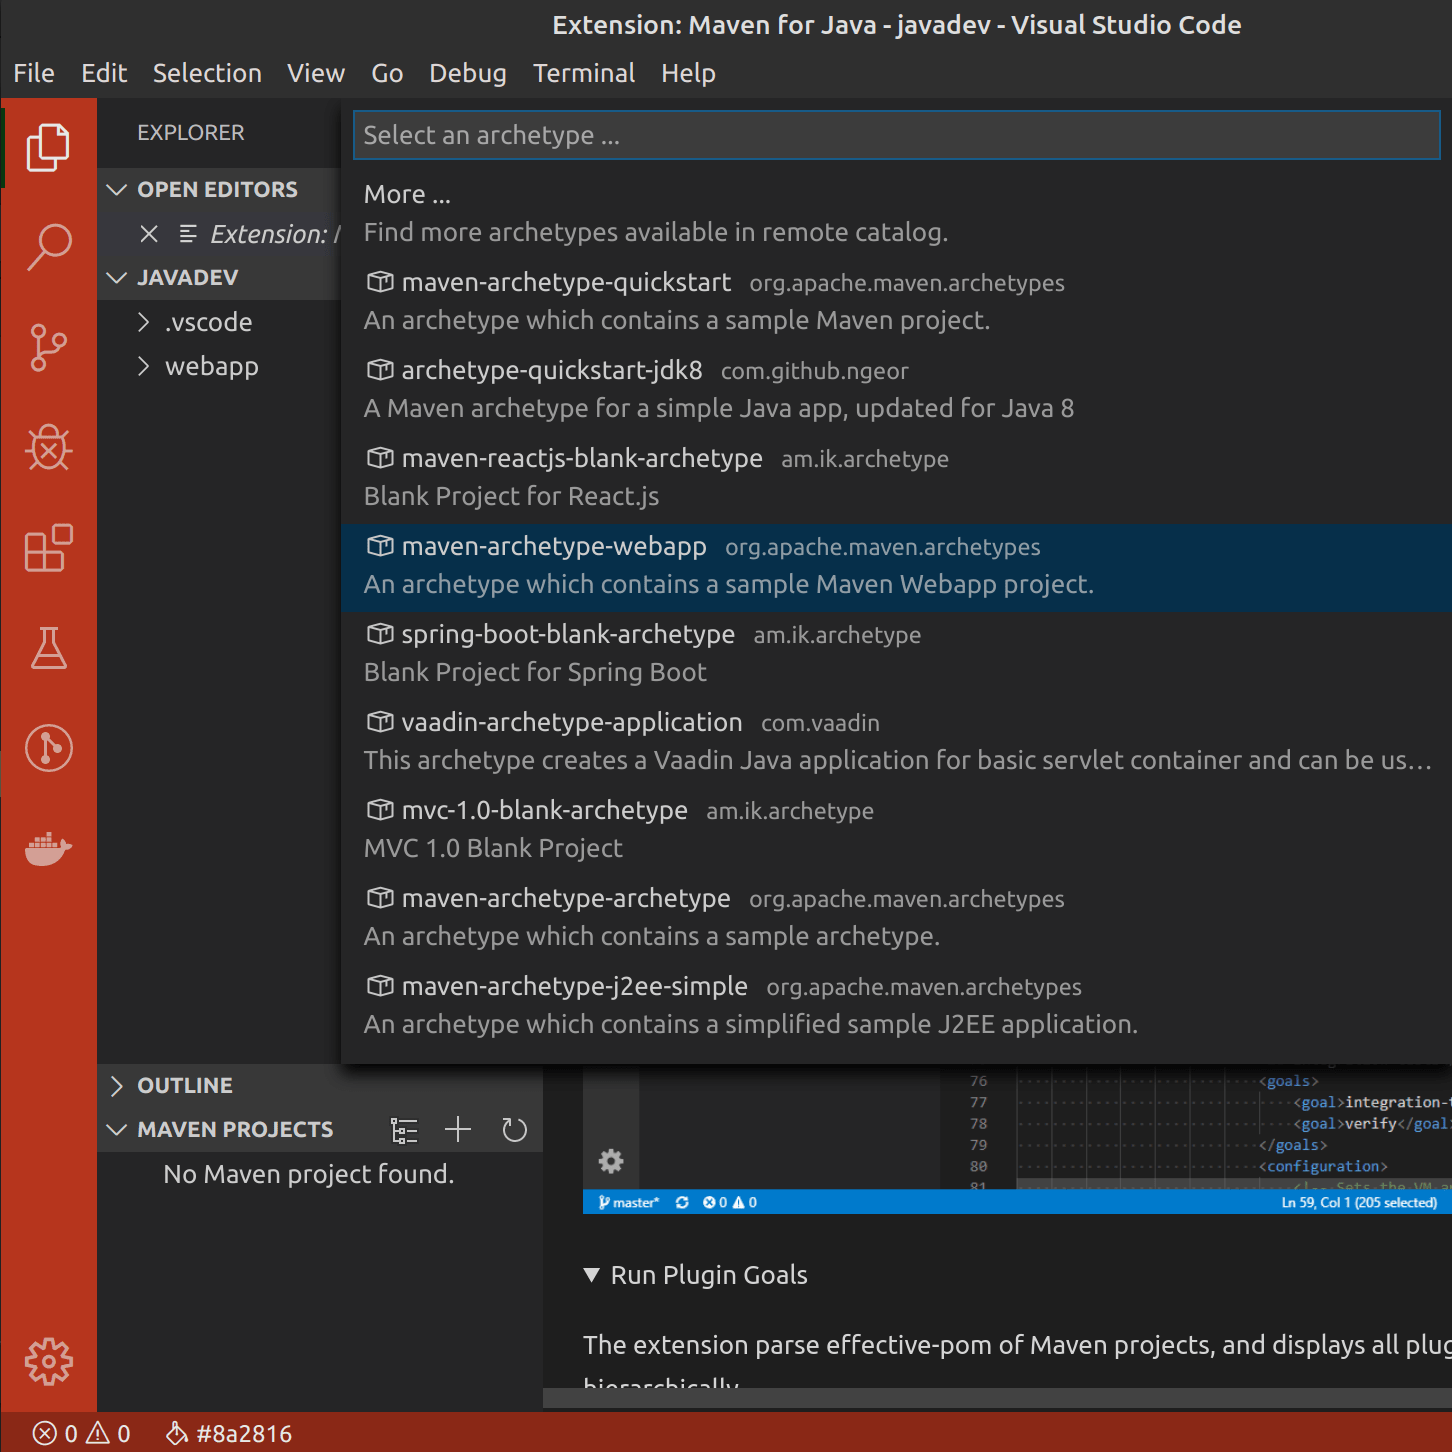
Select maven-archetype-webapp org.apache.maven.archetypes
Answer the prompts to setup the project.
The
artifactIdwill be used for the maven project folder name. for example,
| Property | Value |
|---|---|
| groupId | com.example |
| artifactId | webapp |
| version | 0.0.1-SNAPSHOT |
| package | com.example.webapp |
Typically, the groupId and artifactId combine to make the base package.
Update POM
Update the pom.xml for the version of Java being used. e.g.,
pom.xml
<properties>
    ...
    <maven.compiler.source>1.8</maven.compiler.source>
    <maven.compiler.target>1.8</maven.compiler.target>
</properties>
Docker Tomcat Container
Setup a Tomcat Docker container and develop the Maven Project within it.
Assumptions
System has Docker installed. For Linux, it’s setup to run as a non-root user.
Required VS Code Extensions
- Remote - Containers VS Code Extension
- Remote - SSH VS Code Extension
In the Command Palette, go directly to the commands Ctrl+Shift+P OR F1
Remote-Containers: Open Folder in Container
Select the folder that contains the Maven project, for example webapp.
In the Add Development Container Configuration Files dropdown, enter tomcat to filter the list. Then select a Java Tomcat server, for example, Java 8 & Tomcat 8.5 Server.

The remote VS Code instance will open, the Docker image will be created along with the dev container. Expand .devcontainer in the Explorer panel and inspect devcontainer.json and the Dockerfile for more info.
To see the dev container that was created, in a terminal, enter docker ps -a.

After the container is built, VS Code automatically connects to it and maps the webapp Maven Project from the local file system into the container.
Add Tomcat Server
In the Command Palette, go directly to the commands Ctrl+Shift+P
Tomcat: Add Tomcat Server
Or in the explorer sidebar, expand Tomcat Servers, Select the + sign to add a Tomcat Server.
Enter the path for the server. e.g.,
/usr/local/tomcat
Generate war
Given the current terminal session is Dev Containers, open a new terminal session, Ctrl+Shift+`
The new terminal session should have you in the /workspaces/webapp directory as root within the dev container. e.g.,
root@f06cff27205f:/workspaces/webapp#
Run this mvn command to generate the war file.
mvn clean package
Run on server
In the explorer sidebar, right click on the war file and select Run on Tomcat Server. e.g., target/webapp.war
In the explorer sidebar, expand Tomcat Servers, tomcat and right click on the webapp to open in a browser.
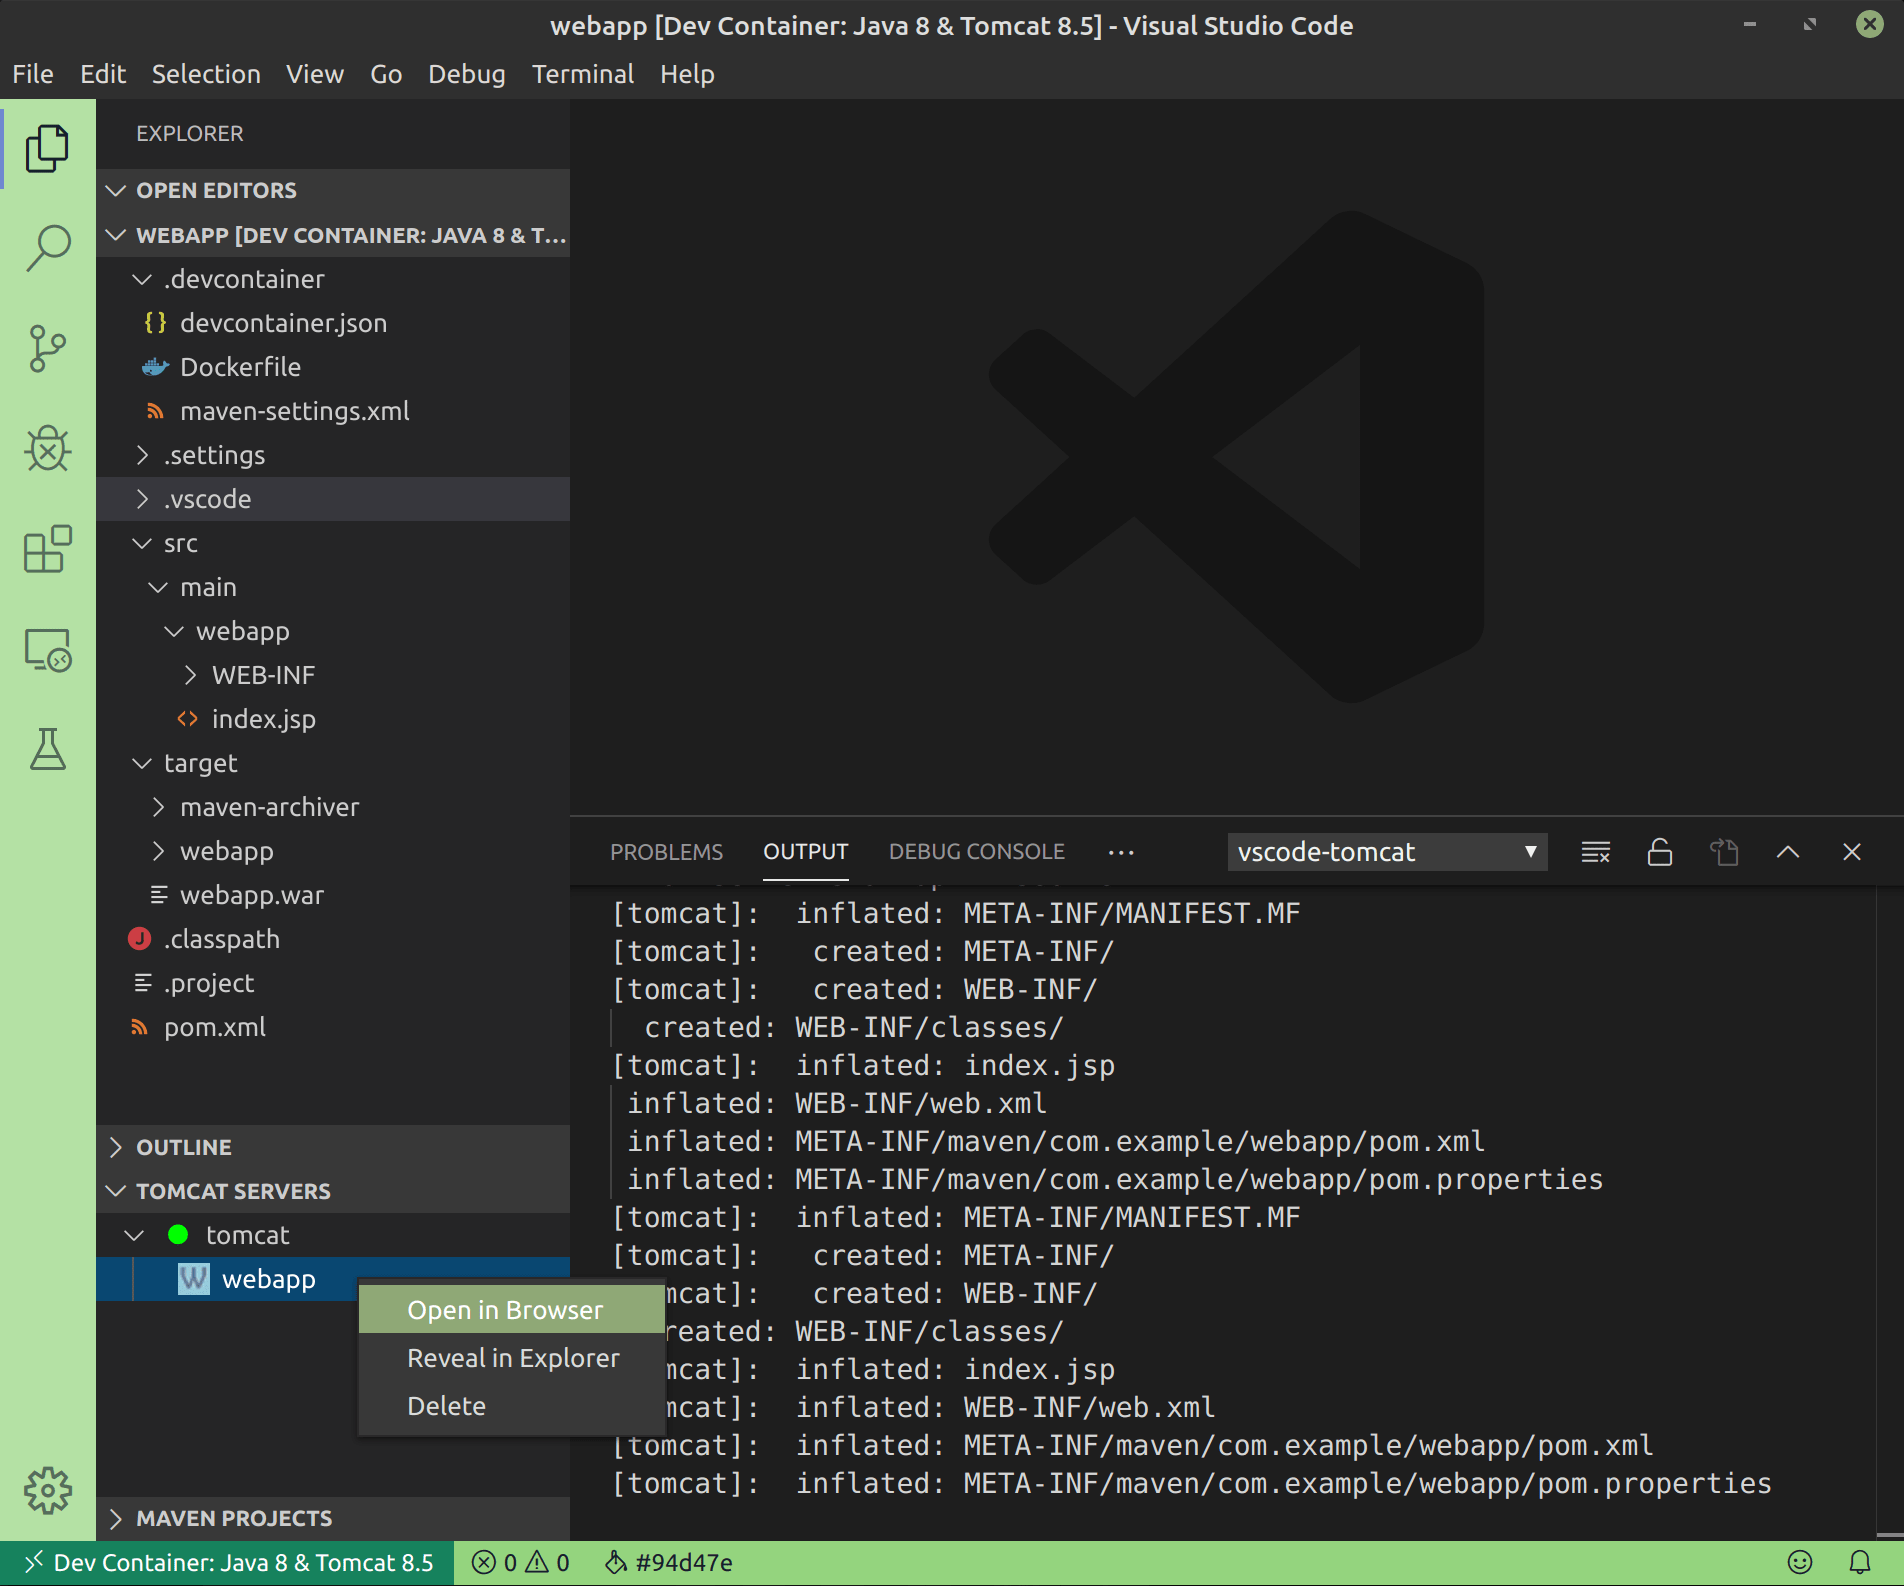
The browser should open to localhost:8080 with “Hello World” rendered from the index.jsp.