
WSL2 with Windows Terminal
Windows has finally created a developer command line experience that can compete with OS X and bare metal Linux with the release of WSL2 combined with the new Windows Terminal. For WSL2 installion and updates, refer to the official Windows Subsystem for Linux Documentation.
Free your mind of an inferior Windows developer experience and make the jump
The following has been tested on Windows 10 build 19041 with WSL2 enabled and set as the default version.
Additionally,
- Ubuntu from the Windows Store
- Windows Terminal from the Windows Store
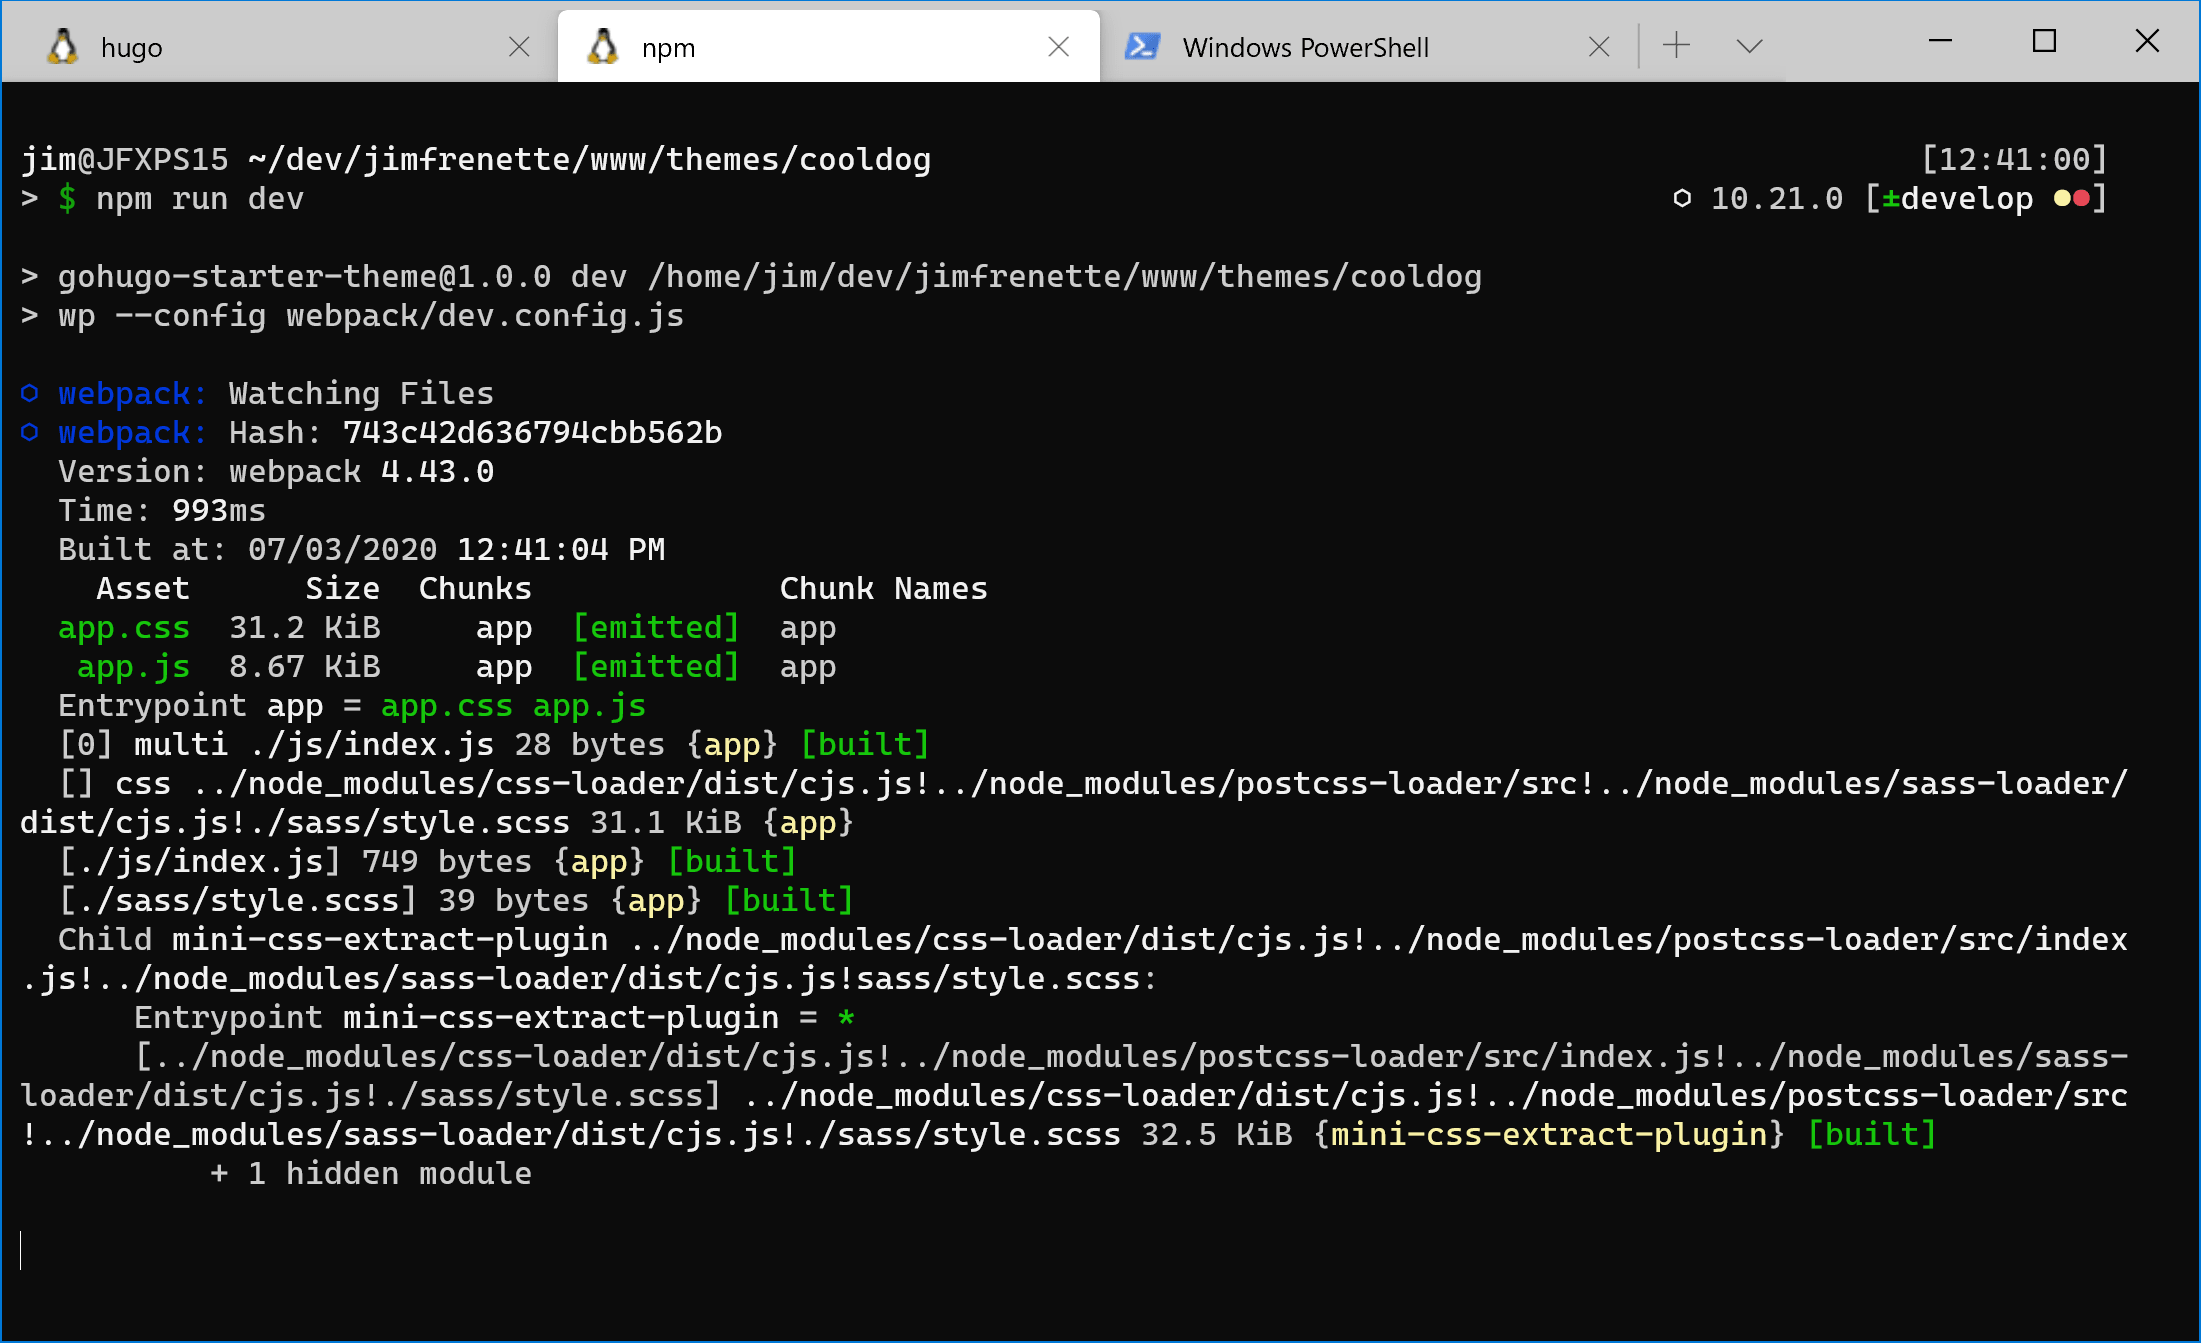
Windows Terminal
One of the things I really like about the new Windows Terminal is the cut, copy and paste keybindings. No more Ctrl+Shift needed, just use Ctrl+V to paste. For example, here are some snippets from my terminal settings.json. Additionally, highlighting and right clicking on terminal output appends it to the command line.
settings.json
...

// If enabled, selections are automatically copied to your clipboard.
"copyOnSelect": true,

// If enabled, formatted data is also copied to your clipboard
"copyFormatting": false,

// A profile specifies a command to execute paired with information about how it should look and feel.
// Each one of them will appear in the 'New Tab' dropdown,
//   and can be invoked from the commandline with `wt.exe -p xxx`
// To learn more about profiles, visit https://aka.ms/terminal-profile-settings
"profiles":
{
  "defaults": {
    // Put settings here that you want to apply to all profiles.
    "fontSize": 11
  },
  ...
}

...

// Add custom keybindings to this array.
// To unbind a key combination from your defaults.json, set the command to "unbound".
// To learn more about keybindings, visit https://aka.ms/terminal-keybindings
"keybindings":
[
    // Copy and paste are bound to Ctrl+Shift+C and Ctrl+Shift+V in your defaults.json.
    // These two lines additionally bind them to Ctrl+C and Ctrl+V.
    // To learn more about selection, visit https://aka.ms/terminal-selection
    { "command": {"action": "copy", "singleLine": false }, "keys": "ctrl+c" },
    { "command": "paste", "keys": "ctrl+v" },

    // Press Ctrl+Shift+F to open the search box
    { "command": "find", "keys": "ctrl+shift+f" },

    // Press Alt+Shift+D to open a new pane.
    // - "split": "auto" makes this pane open in the direction that provides the most surface area.
    // - "splitMode": "duplicate" makes the new pane use the focused pane's profile.
    // To learn more about panes, visit https://aka.ms/terminal-panes
    { "command": { "action": "splitPane", "split": "auto", "splitMode": "duplicate" }, "keys": "alt+shift+d" }
]
Navigating to the Windows file system is done using /mnt. e.g.,
cd /mnt/c
Oh My Zsh
One of the first things I do when setting up a new bash shell is install zsh and Oh My Zsh.
If you’re an npm user, I recommend installing nvm as an Oh My ZSH! custom plugin by cloning zsh-nvm into your custom plugins repo as follows:
cd ~/.oh-my-zsh/custom/plugins

git clone https://github.com/lukechilds/zsh-nvm
Then load as a plugin in your ~/.zshrc profile. Note that plugins need to be added before oh-my-zsh.sh is sourced.
.zshrc
...

# Which plugins would you like to load?
# Standard plugins can be found in $ZSH/plugins/
# Custom plugins may be added to $ZSH_CUSTOM/plugins/
# Example format: plugins=(rails git textmate ruby lighthouse)
# Add wisely, as too many plugins slow down shell startup.
plugins=(
 git
 zsh-nvm
)

source $ZSH/oh-my-zsh.sh
Another good zsh plugin which reminds you of existing aliases for a command you just typed is zsh-you-should-use.
Add it like so
plugins=(
 git
 zsh-nvm
 zsh-you-should-use
)
Additionally, if you’re using Java and Maven, you can install and run those from WSL2 to build projects even if they exist on the mounted native Windows file system. See the Windows Localhost Resolver section below to setup win.localhost as a build target.
To install the OpenJDK 11 JDK package for WSL2 Ubuntu, run the following commands as a user with sudo privileges or root.
sudo apt update
sudo apt install openjdk-11-jdk
Verify the installation by checking the Java version
java -version
Java Home
To set JAVA_HOME environment variable, verify the OpenJDK 11 location, e.g. /usr/lib/jvm/java-11-openjdk-amd64. We’re using nano to update the /etc/environment settings with the Java installation path.
sudo nano /etc/environment
Add the following line given our OpenJDK location is at /usr/lib/jvm/java-11-openjdk-amd64:
JAVA_HOME="/usr/lib/jvm/java-11-openjdk-amd64"
For the environment changes to take effect on your current shell, you can either log out and log in or run the following source command:
source /etc/environment
Now you can verify the JAVA_HOME environment variable using echo. The output should be the path to the Java installation.
echo $JAVA_HOME
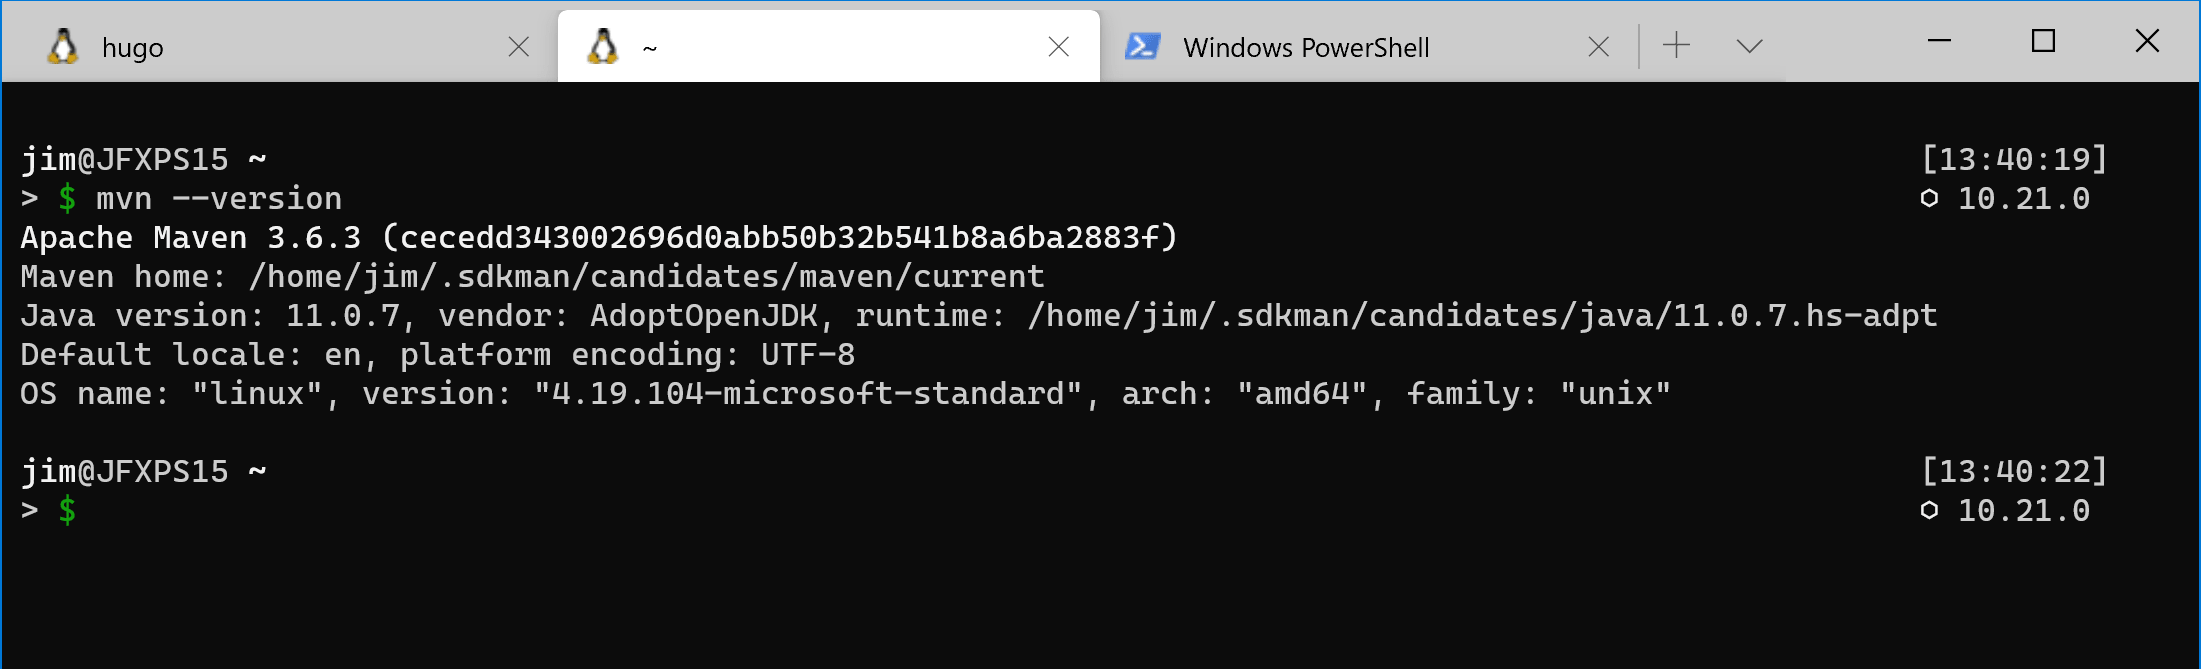
Maven installation on WSL Ubuntu is even simpler.
sudo apt install maven

# verify
mvn --version
Another option is SDKMAN! to manage mutiple JDK versions similar to managing multiple node versions using nvm.
Explorer
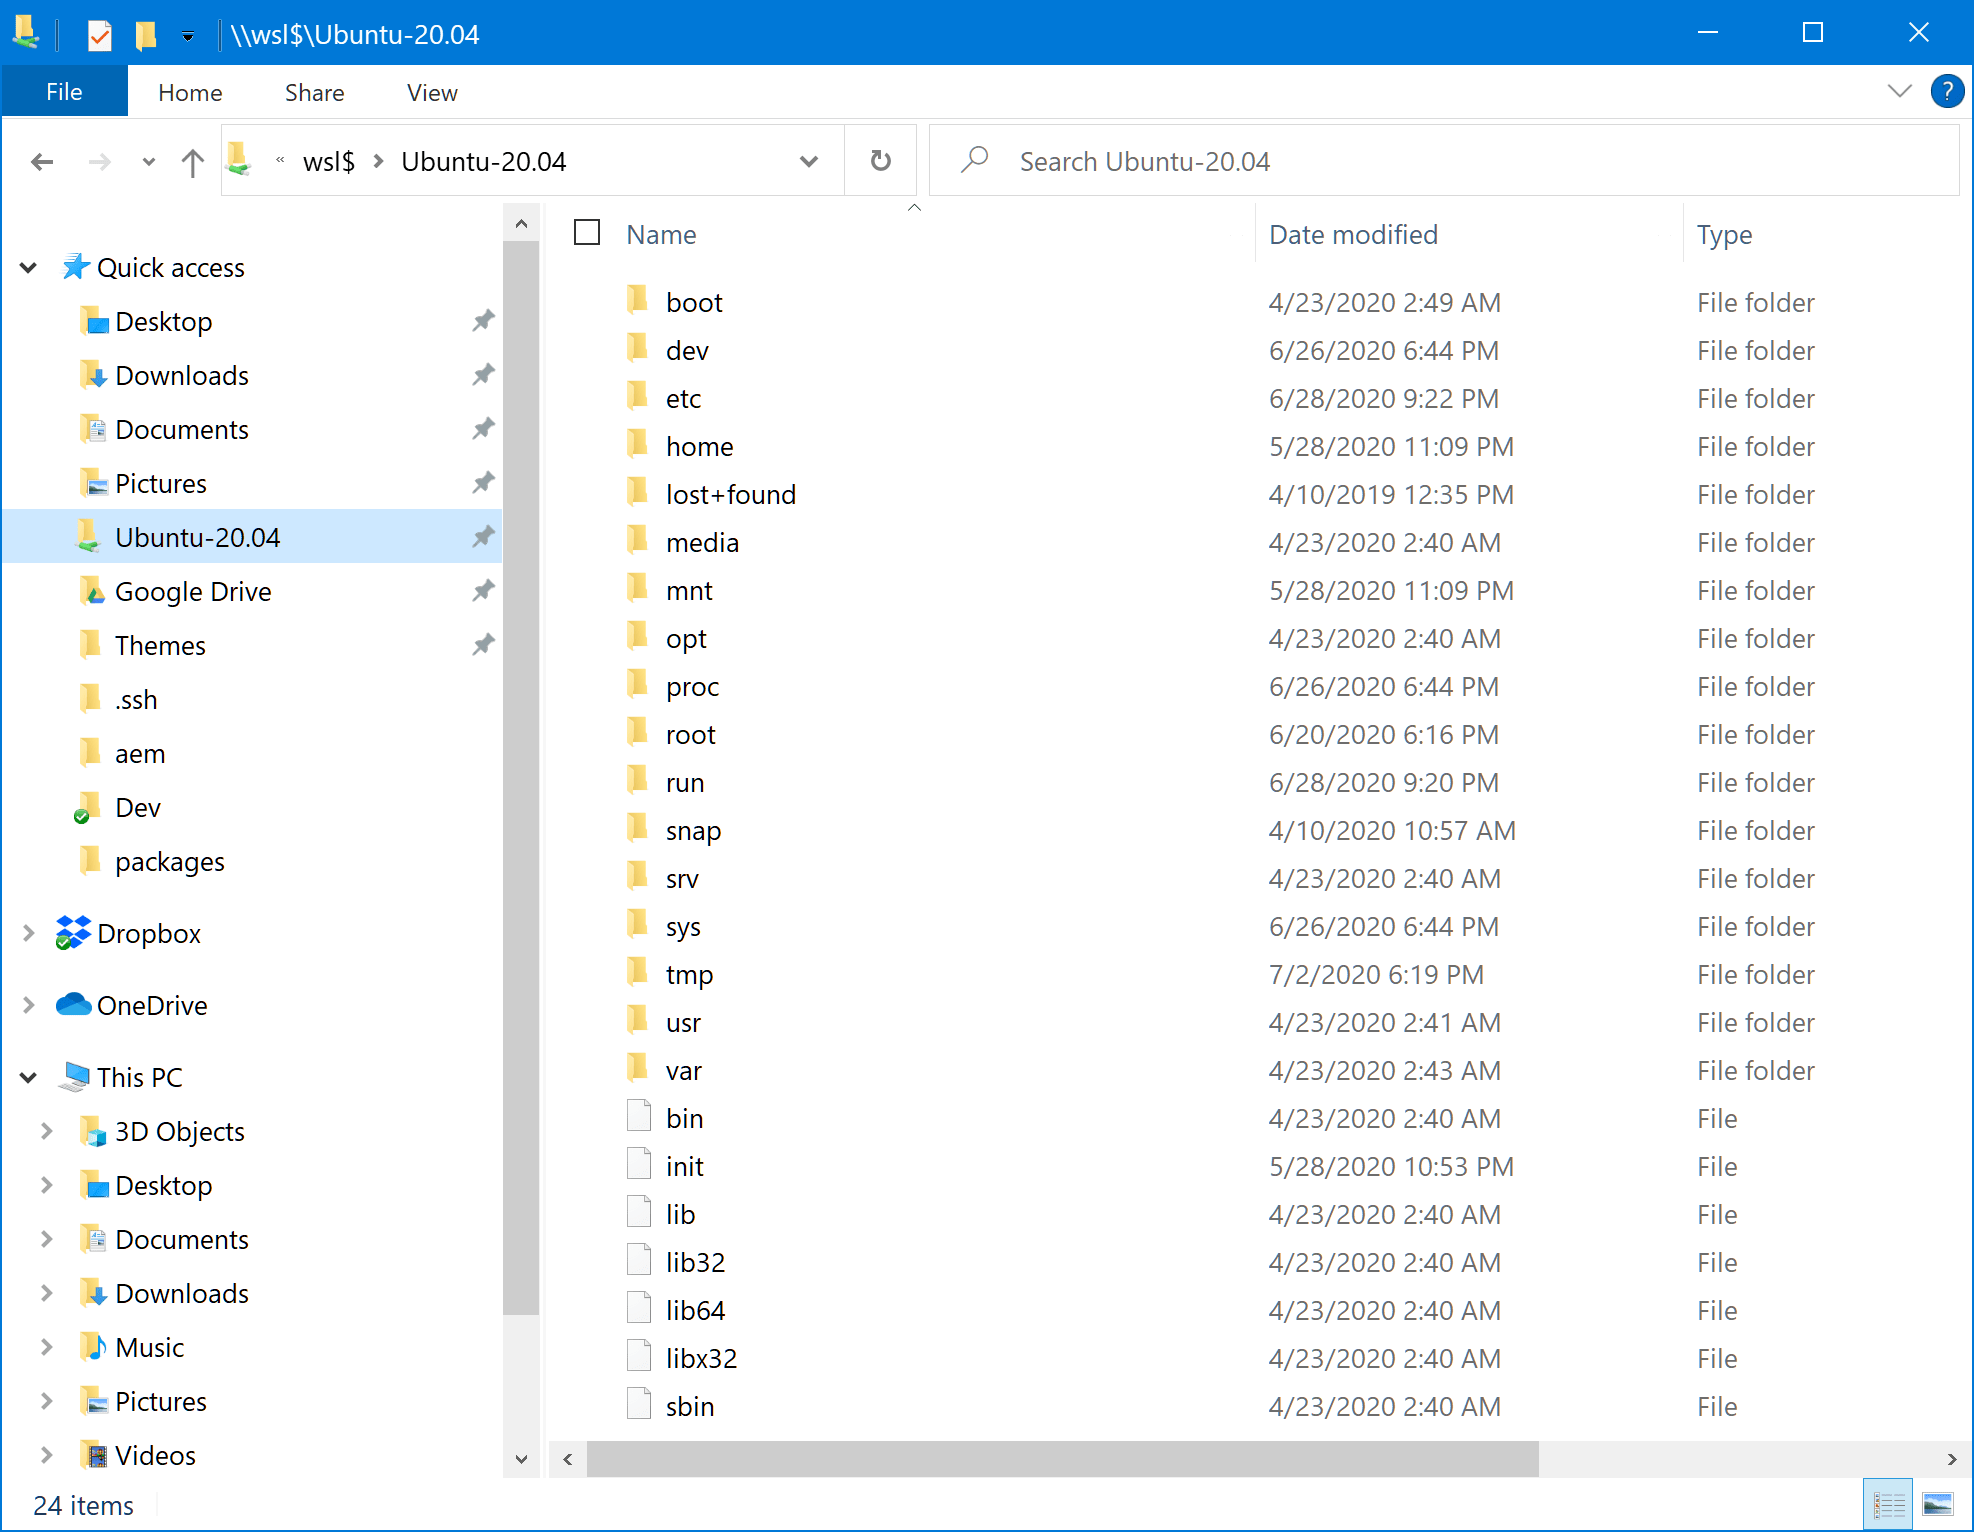
Access your WSL files in Explorer by entering network path \\wsl$ in the address bar.
Windows Localhost Resolver
For WSL2 Linux: The resolv.sh script gets the IP from the /etc/resolv.conf file and updates /etc/hosts. A use case for this is when you want to target localhost on Windows from Linux on WSL2.
Run
resolvanywhere. Given$HOME/binis in your environmentPATH, place theresolv.shin the/bindirectory and make it executable. e.g.,chmod +x resolv.sh. Rename itresolv, e.g.,mv resolv.sh resolv.
Example Scenario: You want to build and deploy code from your WSL2 Linux instance to an AEM server running on Windows localhost.
Using win.localhost in our Linux etc/hosts file to point to the Windows localhost, executing mvn clean install might look like this:
mvn -PautoInstallSinglePackage -Daem.host=win.localhost clean install
For those using AEM repo with the default credentials, your .repo file would look like this:
server=http://win.localhost:4502
credentials=admin:admin
Adding Cygwin and Git Bash to Windows Terminal
If you want the benefits Windows Terminal offers such as copy on selection and Ctrl+V paste when using Cygwin and/or Git Bash, add them to the profiles list. Use PowerShell to generate the GUID for each. e.g.,
New-GUID
Update the profiles list using a new unique GUID for each in settings.json, for example,
settings.json
  ...

  "profiles": {
    "defaults": {
      // Put settings here that you want to apply to all profiles.
      "fontSize": 10,
      "useAcrylic": true,
      "acrylicOpacity": 0.5
    },
    "list": [
      {
        "guid": "{07b52e3e-de2c-5db4-bd2d-ba144ed6c273}",
        "hidden": false,
        "name": "Ubuntu-20.04",
        "source": "Windows.Terminal.Wsl"
      },
      {
        "guid": "{6a75c3e0-7375-45ea-9e31-8edb7d5cec33}",
        "name": "Git Bash",
        "commandline": "C:\\Program Files\\Git\\bin\\bash.exe",
        "icon": "C:\\Program Files\\Git\\mingw64\\share\\git\\git-for-windows.ico",
        "closeOnExit": true,
        "historySize": 9001,
        "startingDirectory": "%USERPROFILE%",
        "hidden": false
      },
      {
        "guid": "{7207cbc3-9406-44ed-83a5-b037a3e6075d}",
        "name": "Cygwin",
        "commandline": "C:\\cygwin64\\bin\\bash.exe --login -i",
        "icon": "C:\\cygwin64\\Cygwin-Terminal.ico",
        "closeOnExit": true,
        "historySize": 9001,
        "hidden": false
      },

      ...
    ]
  }

  ...
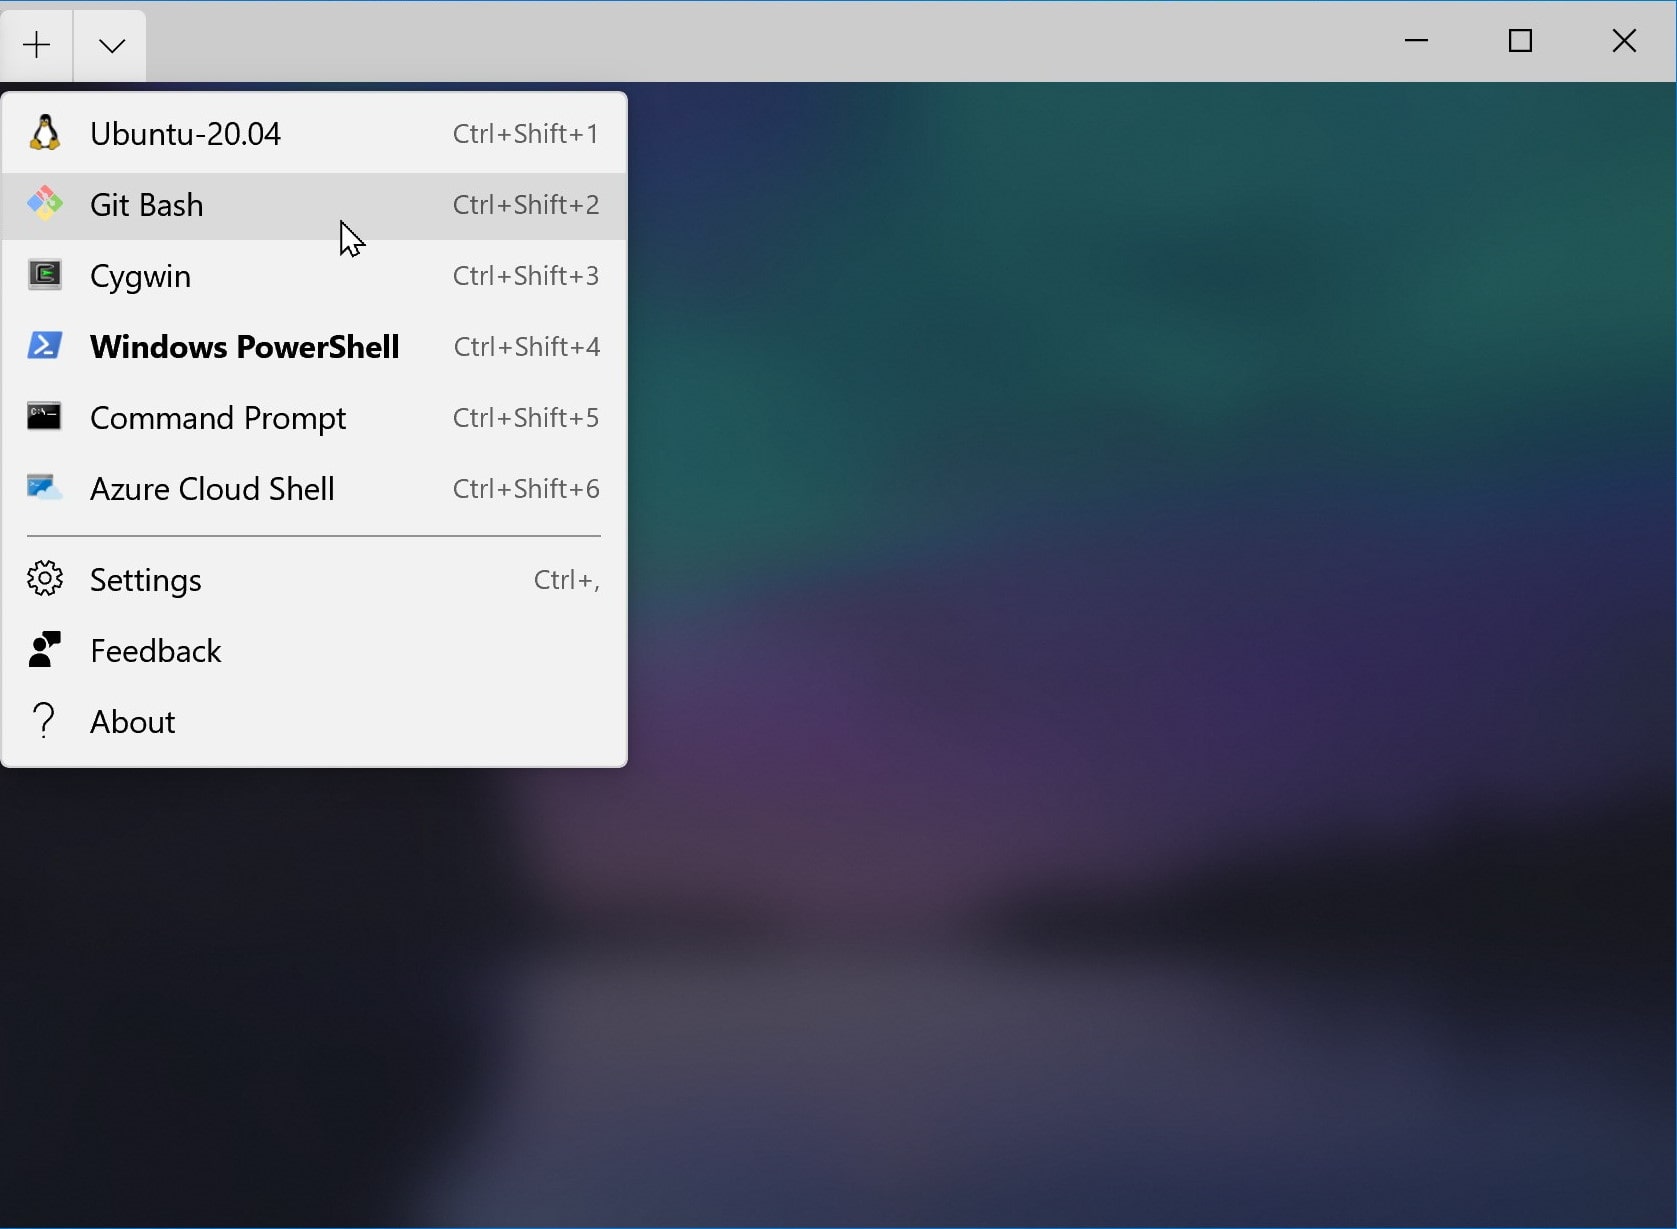
Save the settings and relaunch your Windows Terminal app, you should see the updates when selecting the New Tab drop down.
Cygwin Oh My Zsh
For Cygwin running in the Windows Terminal, we need zsh to start, which is required for Oh My Zsh, create a .profile file in the user home ~/ directory.
Verify using ls -a to list files including those that are hidden such as .bashrc, .profile and .zshrc, etc.
Then add /bin/zsh to the .profile to run zsh.exe when Cygwin bash is started as a login shell.
.profile
/bin/zsh
.profileis executed when bash is started as login shell, e.g. from the commandbash --login..bashrcis similar to.profile, but is executed each time an interactive bash shell is launched.
Link WSL Home Folder
Here’s how you can create a script that will run when you login to Windows, and create a directory link to your WSL home folder. For example, suppose you have Ubuntu 20.04 installed into the Windows Subsystem for linux and your Ubuntu user is named jack and your Windows User is jbarker.
-
Create a
.batfile your Scripts folder, e.g.,C:\Users\jbarker\Scripts\mklink_jack.bat@echo off START /B "" pushd \\wsl$\Ubuntu-20.04 rmdir C:\Users\jbarker\jack /s /q mklink /d C:\Users\jbarker\jack Z:\home\jack -
Create a task to run the
mklink_jack.batscript at loginLaunch the Task Scheduler
Under the General tab:
- On the left sidebar you will see
Task Scheduler Library. Click on it; - Then on the right sidebar click on
Create Task; - Give it a Name and Description;
- Select
Run only when user is logged onoption; - Select Configure for:
Windows 10;
Under the Triggers tab:
- Begin the task:
At log on - Settings:
Specific user - Enabled
checked
Under the Actions tab:
- Add New and Select the
mklink_jack.batscript
- On the left sidebar you will see
Logout or restart. You should see a new link folder in your Windows home folder with the name you specified in the last line of the script. e.g., jack, which links to the Ubuntu home for jack.