
ADOBE EXPERIENCE MANAGER (AEM) COMPONENTS
Concept Code Component
An Adobe Experience Manager (AEM) example to demonstrate development of a component for adding concept code to a page using a textarea field. Can be used for testing, prototyping and troubleshooting.
Getting Started
We’re using a AEM Project Archetype Maven template to create the project.
For example,
cd src

mvn -B org.apache.maven.plugins:maven-archetype-plugin:3.2.1:generate \
 -D archetypeGroupId=com.adobe.aem \
 -D archetypeArtifactId=aem-project-archetype \
 -D archetypeVersion=43 \
 -D aemVersion=6.5.0 \
 -D appTitle="My Project" \
 -D appId="myproject" \
 -D groupId="com.myproject" \
 -D language=en \
 -D country=us \
 -D singleCountry=n \
 -D frontendModule=general
The Adobe Experience League has more documentation on Using the AEM Project Archetype
Component Folder
Copy the existing helloworld component included with the project to jump start development. For example,
cd src/myproject/ui.apps/src/main/content/jcr_root/apps/myproject/components

cp -a helloworld/. conceptcode/
Change the jcr:root element jcr:title attribute for the conceptcode component in the conceptcode/.content.xml to “Concept Code”. For example,
.content.xml
<?xml version="1.0" encoding="UTF-8"?>
<jcr:root xmlns:cq="http://www.day.com/jcr/cq/1.0" xmlns:jcr="http://www.jcp.org/jcr/1.0"
    jcr:primaryType="cq:Component"
    jcr:title="Concept Code"
    componentGroup="My Project - Content"/>
Component Dialog
If you copied the helloworld component, you should already have a dialog to start with. Otherwise, create a folder named _cq_dialog in the conceptcode folder.
The dialog will contain a single textarea for the concept code.
Here is the new XML to use for the apps/myproject/components/conceptcode/_cq_dialog/.content.xml
_cq_dialog/.content.xml
<?xml version="1.0" encoding="UTF-8"?>
<jcr:root xmlns:sling="http://sling.apache.org/jcr/sling/1.0"
    xmlns:cq="http://www.day.com/jcr/cq/1.0"
    xmlns:jcr="http://www.jcp.org/jcr/1.0"
    xmlns:nt="http://www.jcp.org/jcr/nt/1.0"
    xmlns:granite="http://www.adobe.com/jcr/granite/1.0"
    jcr:primaryType="nt:unstructured"
    jcr:title="Properties"
    sling:resourceType="cq/gui/components/authoring/dialog"
    extraClientlibs="[myproject.cmpconfig.dialog]">
    <content
        jcr:primaryType="nt:unstructured"
        sling:resourceType="granite/ui/components/coral/foundation/fixedcolumns"
        granite:class="concept-code">
        <items jcr:primaryType="nt:unstructured">
            <column
                jcr:primaryType="nt:unstructured"
                sling:resourceType="granite/ui/components/coral/foundation/container">
                <items jcr:primaryType="nt:unstructured">
                    <code
                        jcr:primaryType="nt:unstructured"
                        sling:resourceType="granite/ui/components/coral/foundation/form/textarea"
                        fieldLabel="Code"
                        name="./code"/>
                </items>
            </column>
        </items>
    </content>
</jcr:root>
Let’s go over the changes to the dialog XML above.
-
The obvious change mentioned above was to use a
textareafield for the code. This is apparent in thecodeelement where thesling:resourceTypeattribute is set to granite/ui/components/coral/foundation/form/textarea. -
In the
jcr:rootelement, we’re adding a namespace attribute for the granite document,xmlns:granite="http://www.adobe.com/jcr/granite/1.0". This is for thegranite:classattribute in change number 4 below. -
Also in the
jcr:rootelement, we’re adding anextraClientlibsattribute with themyproject.cmpconfig.dialogcategory specified. This attribute value contains an array for all of the extra client-libs the dialog depends on. The client-lib and its category will be created further down in this tutorial. -
In the
contentelement, we’re adding an attribute to apply a CSS class to the markup that is output for the.coral-FixedColumncontainer. By doing this we can apply our dialog CSS just for the elements within the container. Steps on where to add the respective CSS further down.
Component Template
Here is the new HTL (Sightly) to use for the apps/myproject/components/conceptcode/conceptcode.html. If you copied the helloworld component, rename it conceptcode.html. The following replaces all of the pre-existing HTL.
conceptcode.html
<sly data-sly-set.emptyText="${properties.code ? 'Configured' : ''}"/>

${properties.code @ context = 'unsafe'}

<sly data-sly-use.templates="/apps/core/wcm/components/commons/v1/templates.html"
     data-sly-call="${templates.placeholder @ isEmpty = true, emptyTextAppend = emptyText}" />
The emptyText variable is used to provide a placeholder label for the container in editmode so it isn’t collapsed or hidden.
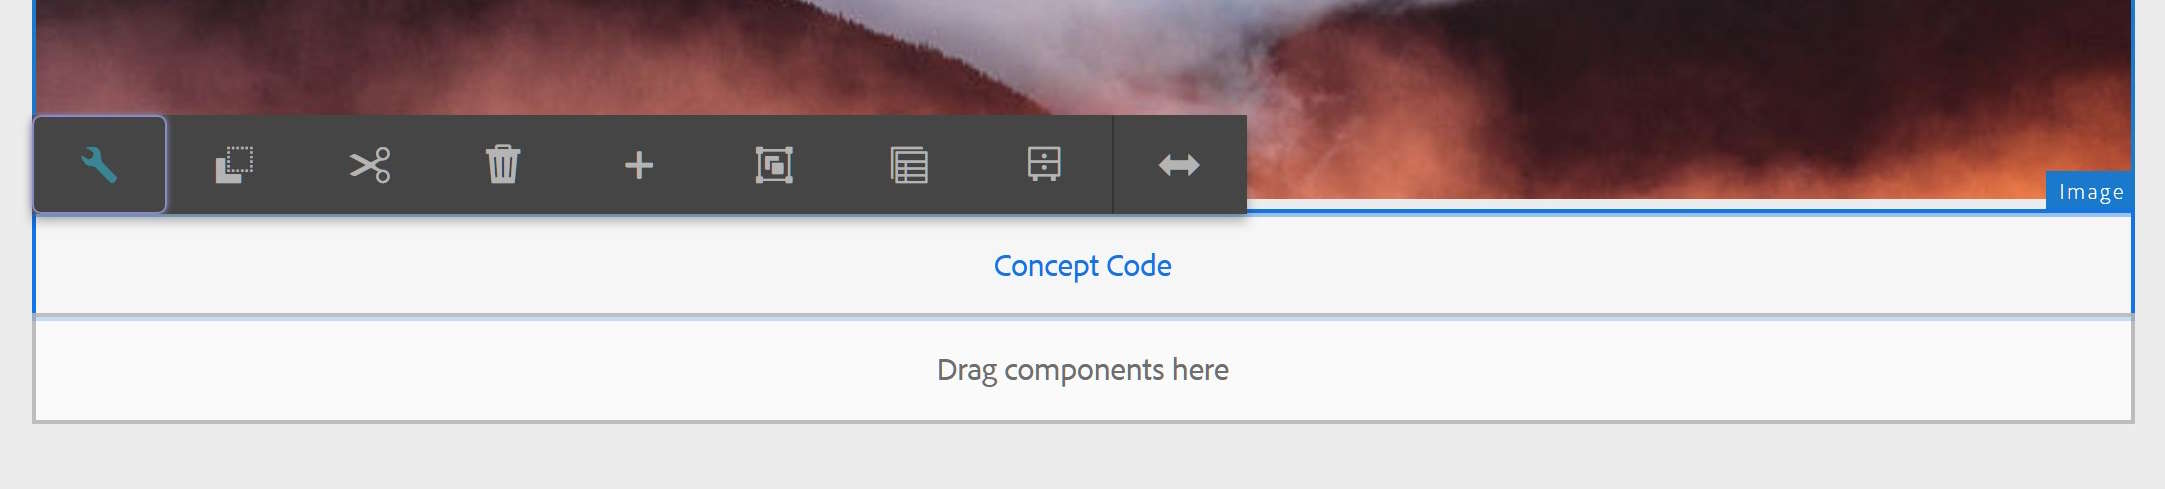
If the properties.code textarea field is not empty, the label will show “Configured”.
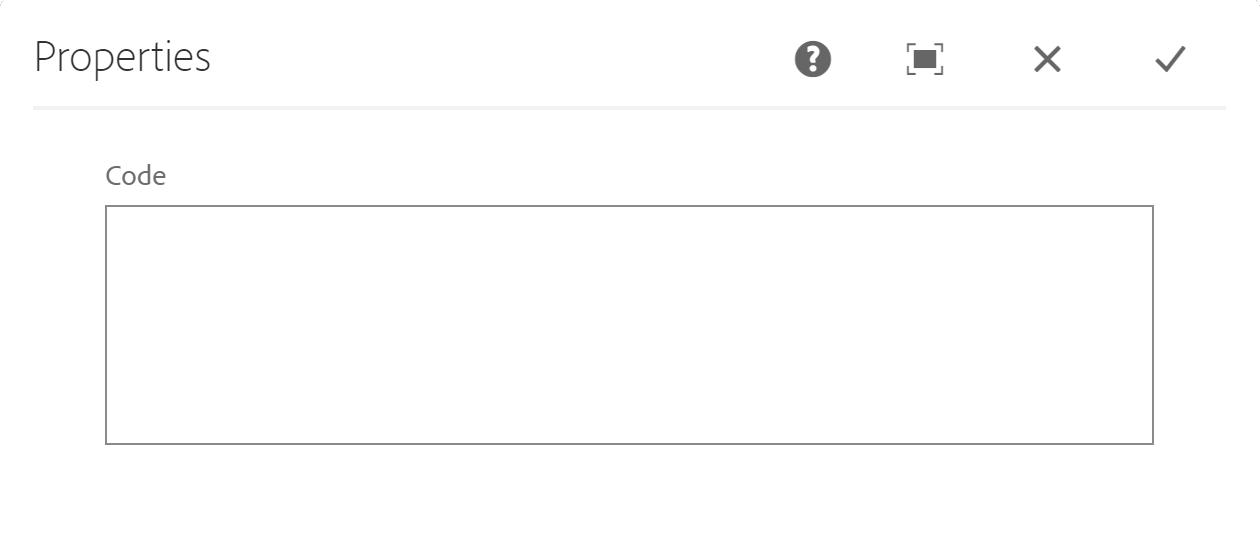
Dialog CSS
This is how the dialog and code entry textarea looks prior to our extraClientLibs CSS.
Create a new clientlib-dialog folder that contains a css folder in the project’s clientlibs. For example,
cd src/myproject/ui.apps/src/main/content/jcr_root/apps/myproject/clientlibs

mkdir -p clientlib-dialog/css
Create this dialog.less (Leaner Style Sheets) file in the css folder.
css/dialog.less
.concept-code {
    .coral-Form-fieldwrapper {
        display: flex;
        flex-direction: column;
        height: 100%;
    }
    .coral-FixedColumn-column {
        width: 100%;
        height: 100%;
    }
    .coral-Form-field.coral3-Textfield {
        height: 100%;
    }
}
Create this css.txt file in the clientlib-dialog folder.
css.txt
#base=css
dialog.less
#base=csssets the root as the folder namedcssbelow thecq:ClientLibraryFolder.dialog.lesssets the path of the source files relative to the root folder.
In the clientlib-dialog folder, create this .content.xml to define the client library properties. Note that the jcr:root element contains the categories attribute [myproject.cmpconfig.dialog] for the dialog’s extraClientLibs mapping.
.content.xml
<?xml version="1.0" encoding="UTF-8"?>
<jcr:root xmlns:cq="http://www.day.com/jcr/cq/1.0"
    xmlns:jcr="http://www.jcp.org/jcr/1.0"
    jcr:primaryType="cq:ClientLibraryFolder"
    allowProxy="{Boolean}true"
    cssProcessor="[default:none,min:none]"
    categories="[myproject.cmpconfig.dialog]"
    dependencies="[granite.utils]"/>
Adobe Experience League Documentation: Using Client-Side Libraries
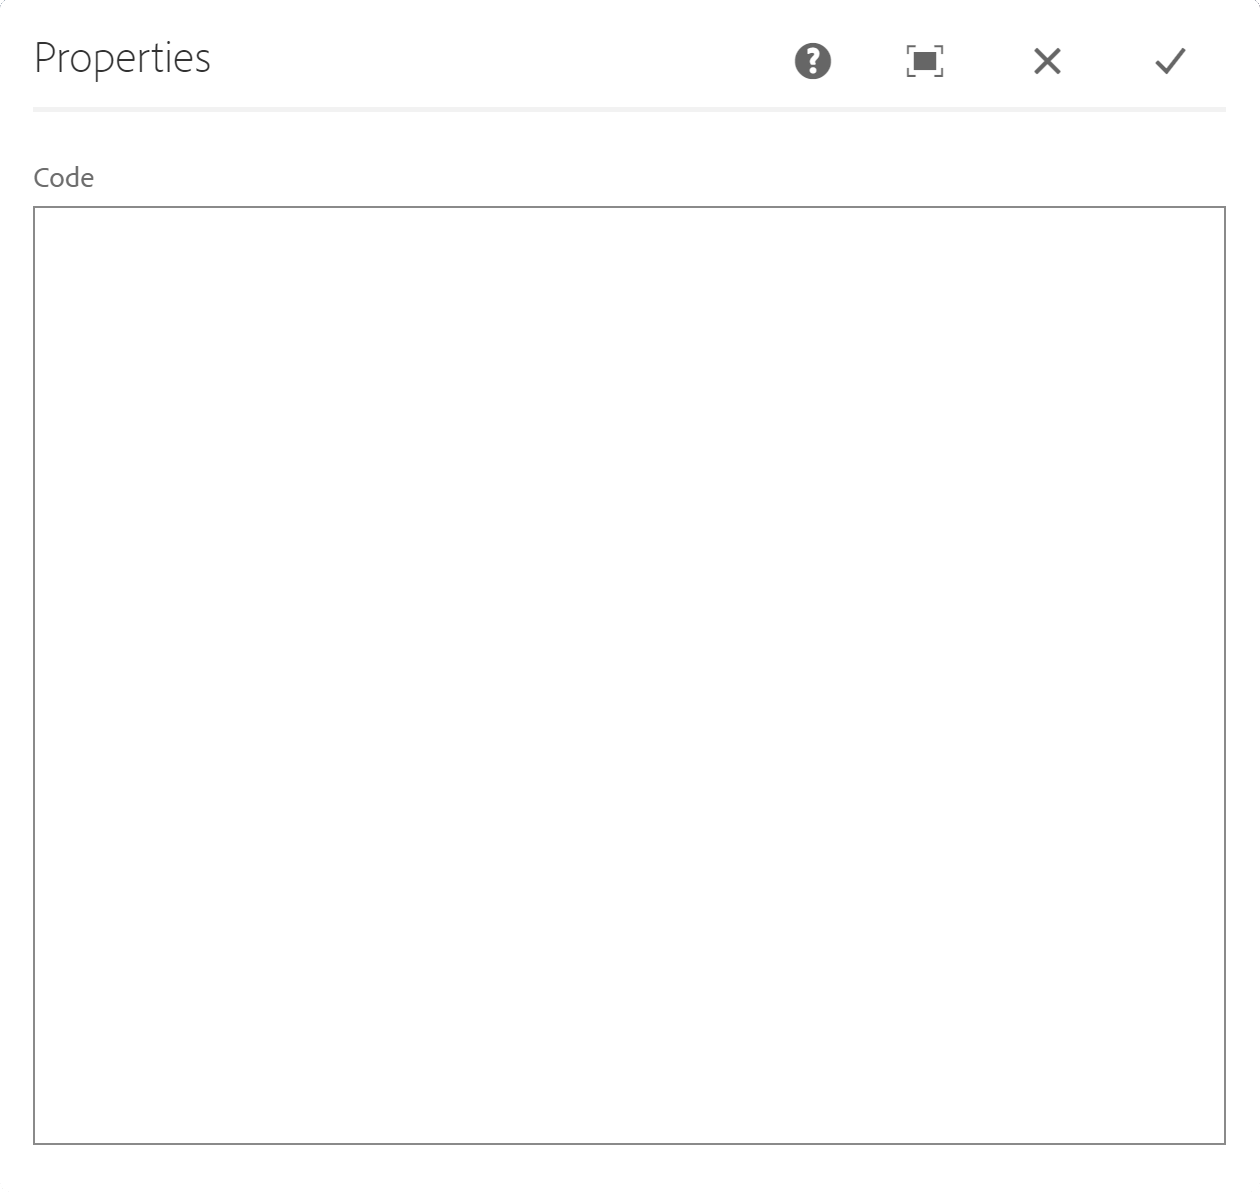
With the CSS being applied from the myproject.cmpconfig.dialog category, the textarea fills the width and remaining height of the column container.
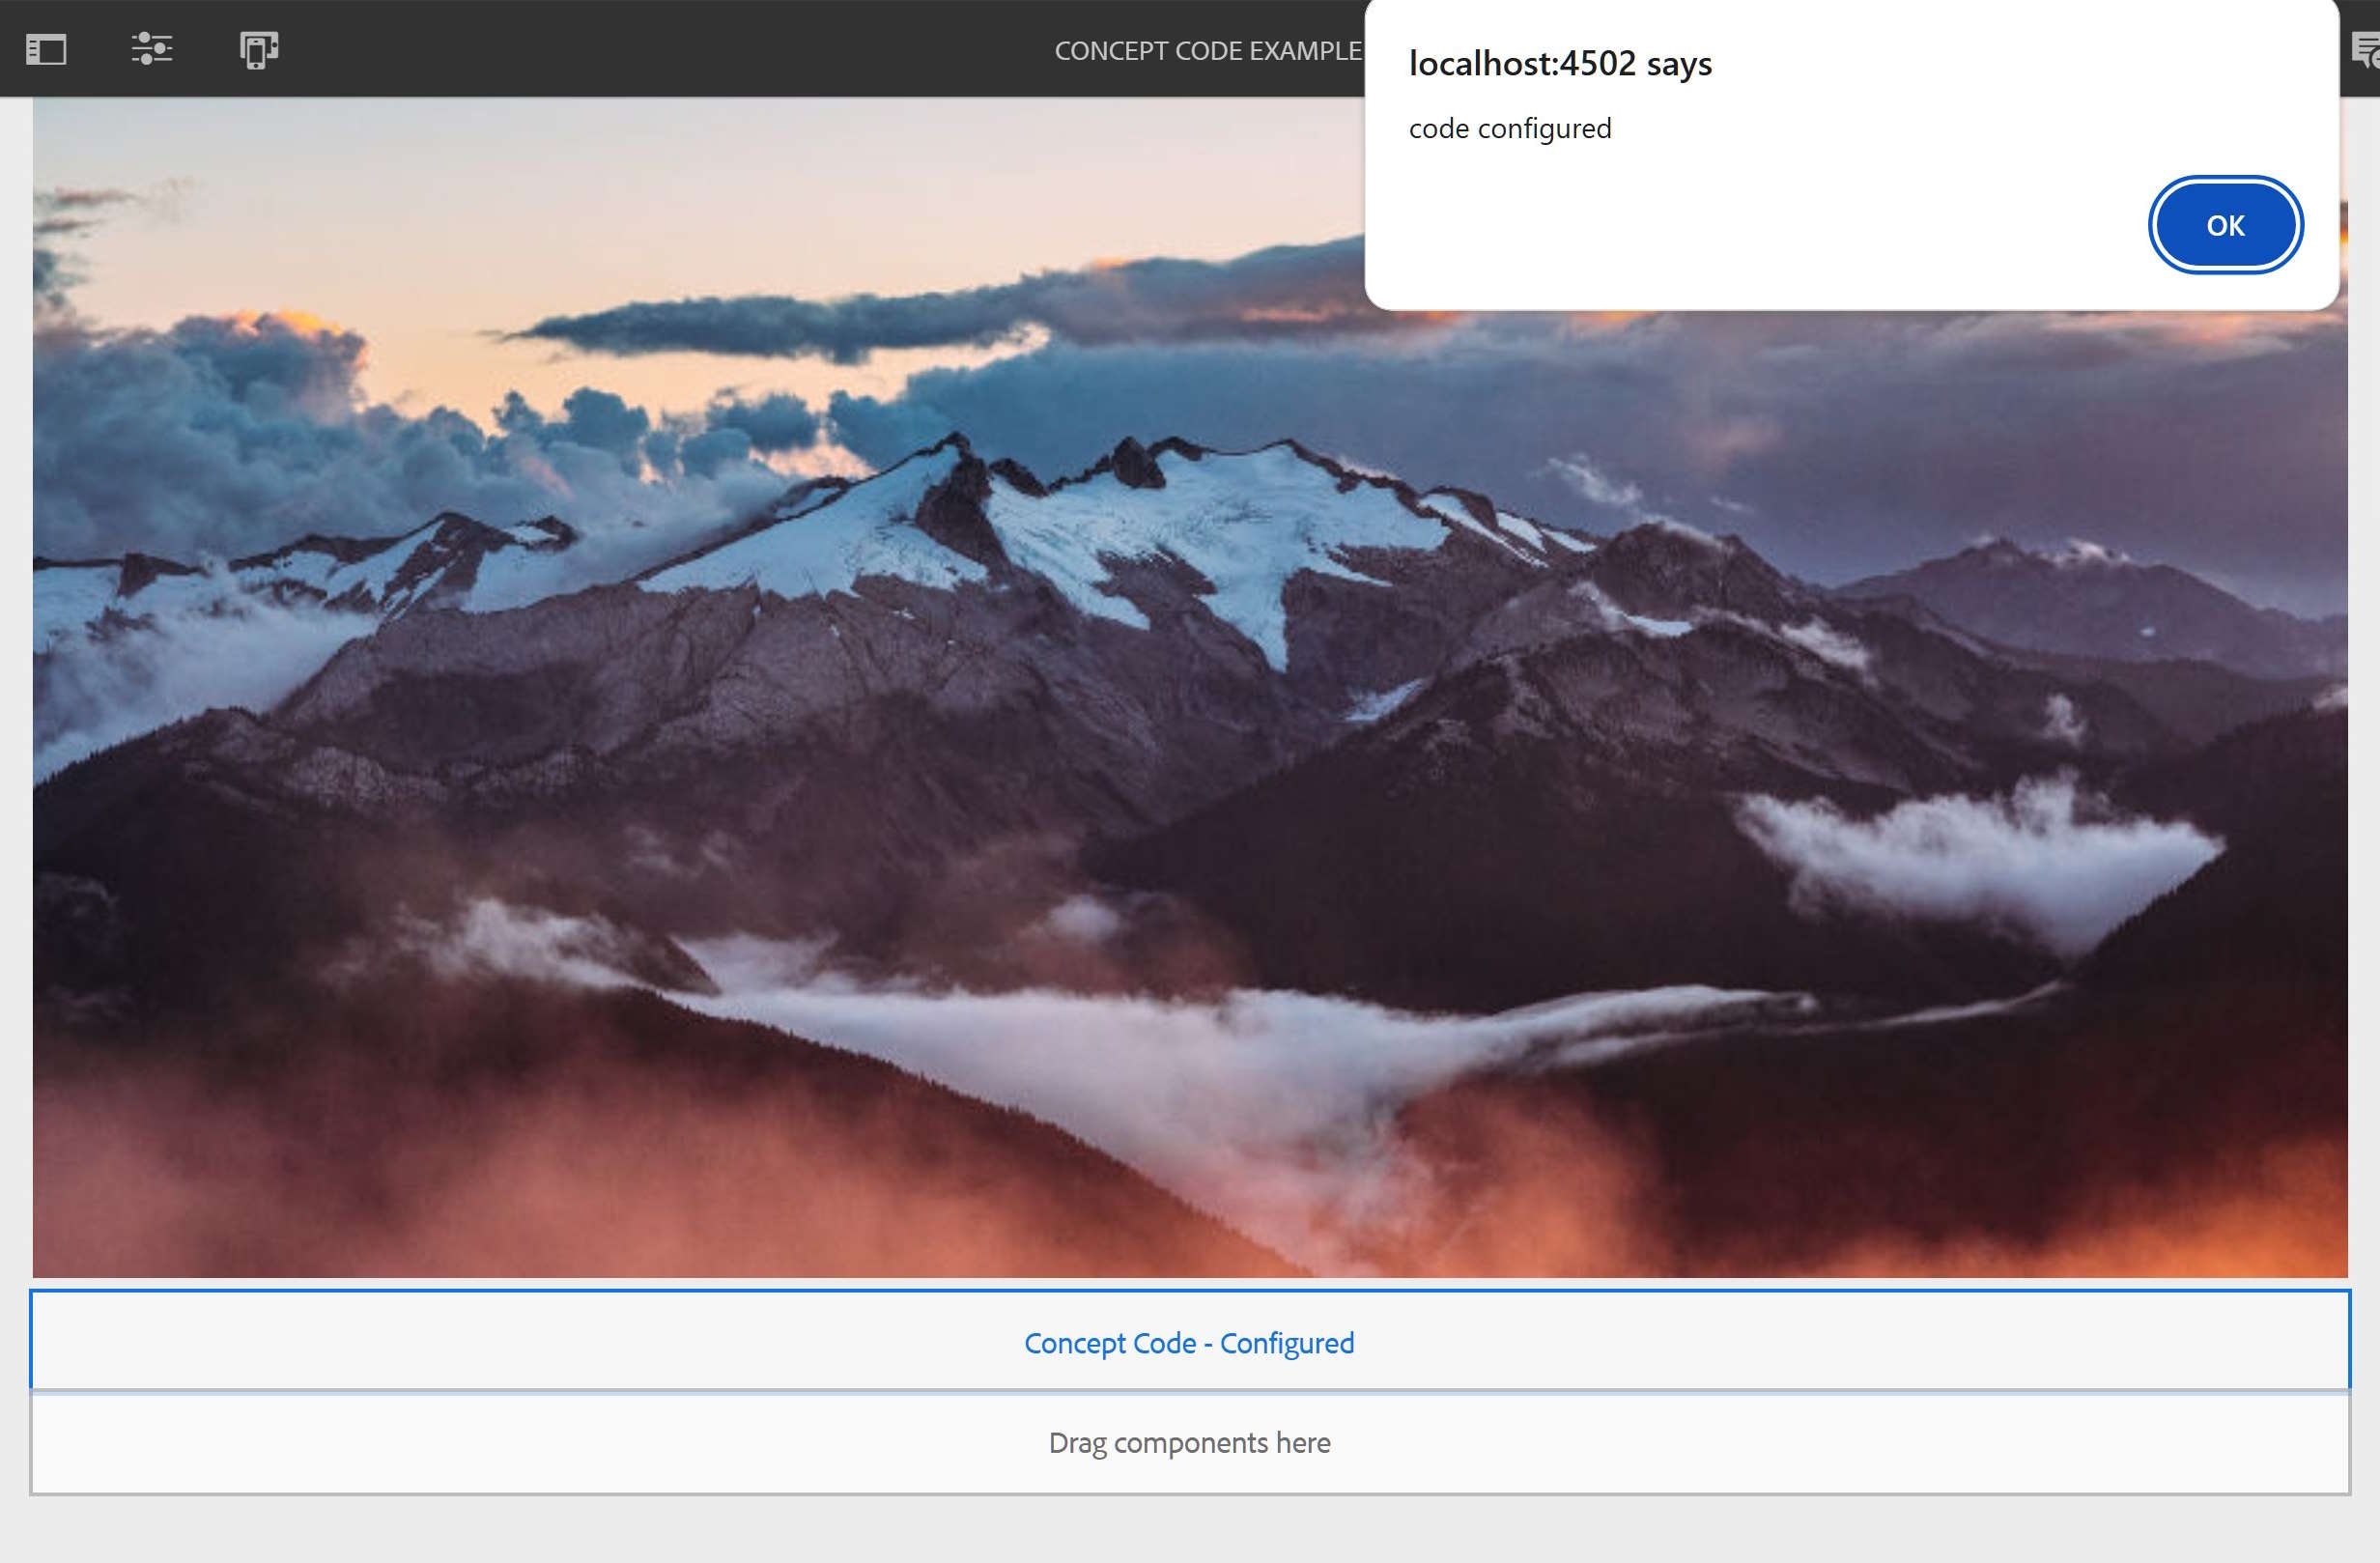
Example dialog with inline script entered into the code textarea.

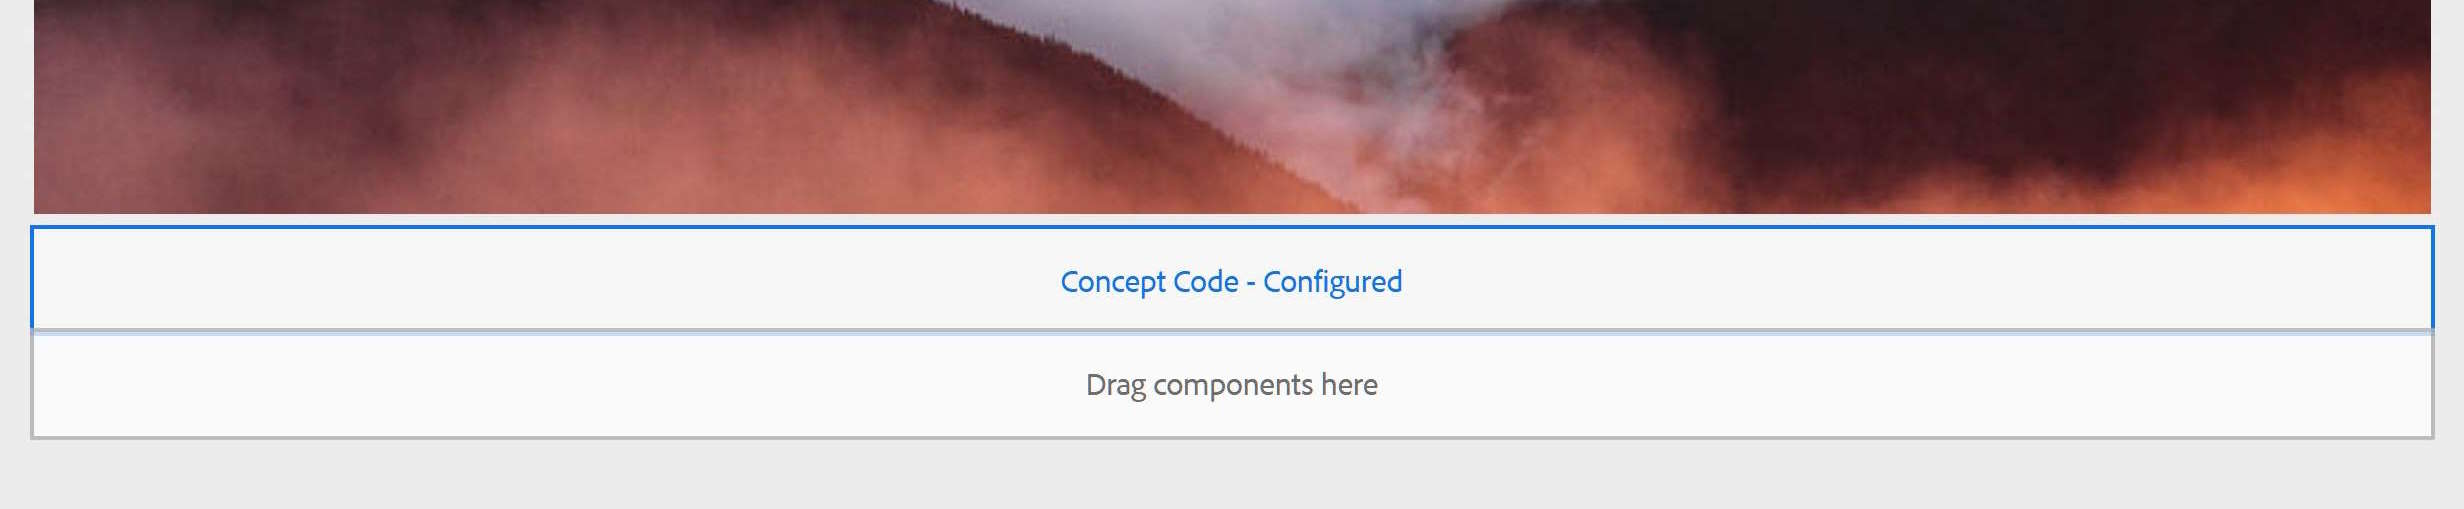
After saving the dialog, the page renders with the updated code.
Install
From the generated project folder, use mvn clean install to build and deploy it to your running local AEM instance. For example,
cd src/myproject

mvn -PautoInstallPackage clean install
Source Code
Part 6 of 6 in the AEM Component Dev series.