Hugo Content with Pages and Navigation
While converting my WordPress content into markdown files for Hugo, I wanted to keep my permalinks exactly the same. For my existing content that spans more than a single page, I created a way to do this without server rewrite rules or Hugo aliases that use meta refresh which is sub-optimal for SEO performance.
Create a New Site
To create a new Hugo site in the www folder, issue the following command in your terminal.
hugo new site www
Add a Theme
Using git, clone my hugo-starter theme into www/themes/starter.
cd www

git clone https://github.com/jimfrenette/hugo-starter.git themes/starter
Optionally, you can Download and extract the theme into www/themes/starter.
Enable the starter theme in the site configuration file. For example, in www/config.toml add this theme property to the root of the file.
config.toml
theme = "starter"
Make sure the new starter theme is loading properly using the Hugo development server.
hugo server -D
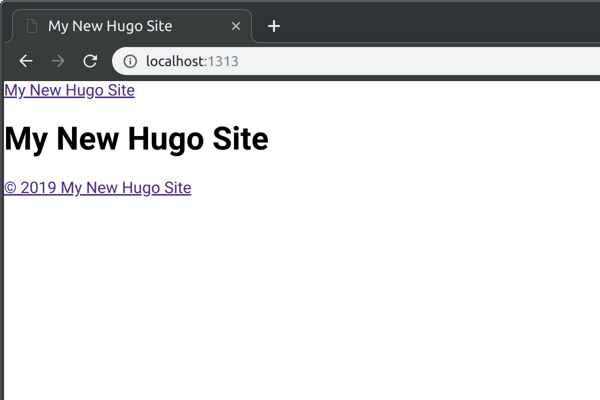
If everything worked as expected, the site should be rendering the default homepage on the devlopment server, e.g., localhost:1313
Permalinks
My permalink settings in WordPress segment my posts by Month and name, for example, jimfrenette.com/2019/03/sample-post/. To have the same for posts in Hugo, add a permalinks property to the site configuration. For example, in www/config.toml add this permalinks property to the root after the theme property.
[permalinks]
  post = "/:year/:month/:slug/"
Now for each www/content/post markdown file, a slug property is needed in the front matter. Typically, the slug value will be the markdown file name without the extension. By explicitly defining a slug value, we have more control over what our permalink will be. I’ve encountered edge cases using :title instead of :slug where the content file was not found at the permalink path I expected.
New Post
Let’s create a content/post folder to define our post content type.
cd www

mkdir -p content/post
Hugo’s Content Organization page has more information on how Hugo manages content types.
Create a new post with a markdown file in the content/post folder, for example, sample-post.md.
Add the following front matter to the top of the markdown.
sample-post.md
---
title: 'Sample Post'
date: 2019-03-10
draft: false
tags:
slug: 'sample-post'
---
To give the post some content, add a few paragraphs of copy. You can use Lorem ipsum for this.
Retart the Hugo server and verify that the new post is at the expected permalink path.
hugo server -D
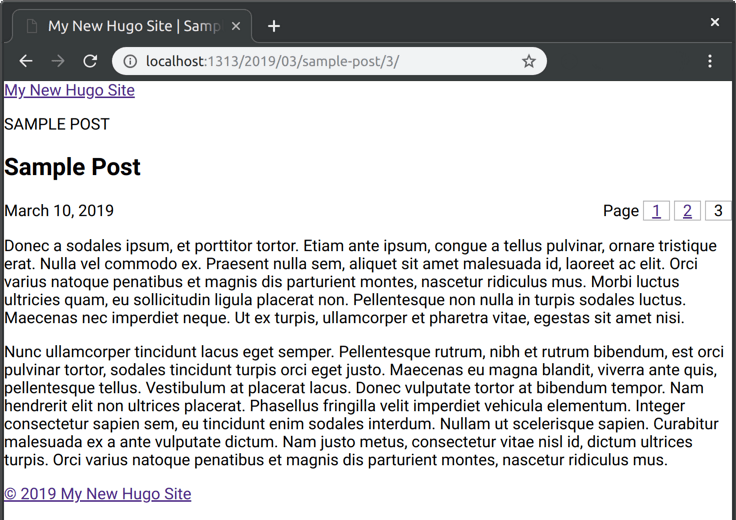
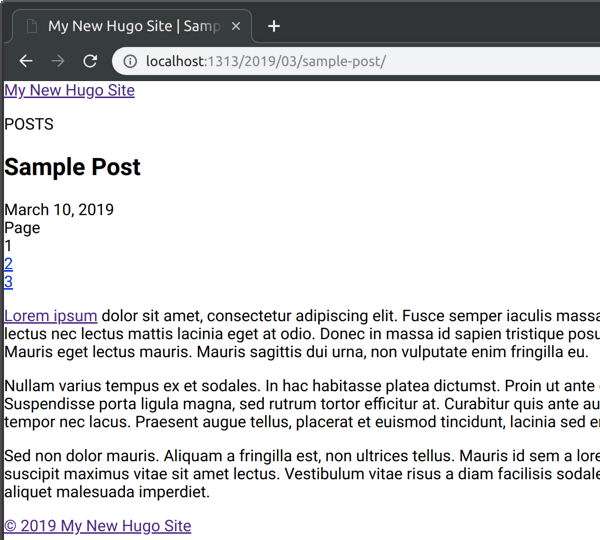
If all went well, the sample post should be available at localhost:1313/2019/03/sample-post/ given our post permalinks setting of /:year/:month/:slug/.
Post Pages
In WordPress, adding a page break to post content using the <!--nextpage--> comment creates a new page with just the page number for the trailing path segment, e.g, /2. It’s important that I keep the same permalink path for these pages being converted from my pre-existing WordPress site that are linked to from external websites and comment API’s such as Disqus. To create these in Hugo is a bit more work. Here is a method I used to generate these pages for the post in the location that matches the permalink path.
Why not use Hugo aliases? Aside from the SEO issues when using Hugo aliases to redirect targeted links, the pre-existing page URL’s linked to my comment API would fail. This is because the alias would use meta refresh to load a URL that doesn’t match what the API is using to reference the respective comments.
Edit the first page of the sample-post e.g., content/post/sample-post.md and add a slug and pages array to the front matter. The first item in the array is empty since we’re on that page. The 2nd and 3rd items in the pages array contain their repective permalink paths. For example,
slug: 'sample-post'
pages: [
  '',
  '/2019/03/sample-post/2',
  '/2019/03/sample-post/3'
]
New Post Page Two
Open content/post/sample-post created above in a code editor and Save As… content/post/sample-post-p2.md.
In the new content/sample-post-p2.md update the slug path with the trailing page 2 segment, e.g., /2. Also update the pages array so the first item in the array contains the permalink path for page 1. Since this is page 2, the 2nd item in the pages array is empty to indicate that we’re on this page. Lastly, add an item for page 3. For example,
slug: 'sample-post/2'
pages: [
  '/2019/03/sample-post',
  '',
  '/2019/03/sample-post/3'
]
New Post Page Three
Like we did for page 2, create page three, for example, content/post/sample-post-p3.md and update its page front matter as follows.
slug: 'sample-post/3'
pages: [
  '/2019/03/sample-post',
  '/2019/03/sample-post/2',
  ''
]
- content
- post
- sample-post.md
- sample-post-p2.md
- sample-post-p3.md
- post
Post Pages Layout Template
For the content pages, we need to create a template that will generate the pagination wthin a post.
In a code editor, open the default single layout in themes/starter/layouts/_default/single.html and save as a new post single layout in themes/starter/layouts/post/single.html.
To display the page numbers, add a nav element that uses Hugo’s range function to iterate over our pages front matter.
{{ if isset .Params "pages" }}
<nav class='content'>Page
    {{ range $index, $val := .Params.pages }}
    <div>
    {{ if $val }}
    <a href="{{ $val }}">{{ add 1 $index }}</a>
    {{ else }}
    {{- add 1 $index -}}
    {{ end }}
    </div>
    {{ end }}
</nav>
{{ end }}
A good place for the nav is near the top of the page across from the line that displays the date of the post. To locate it there, add a wrapper div around the time and nav elements. Also give the wrapper div a style class named dateline for applying some css later.
Replace
<time datetime="{{ .Date.Format "2006-01-02T15:04:05Z07:00" }}">
    {{- .Date.Format "January 2, 2006" -}}
</time>
With
<div class="dateline">
    <time datetime="{{ .Date.Format "2006-01-02T15:04:05Z07:00" }}">
        {{- .Date.Format "January 2, 2006" -}}
    </time>
    {{ if isset .Params "pages" }}
    <nav class='content'>Page
        {{ range $index, $val := .Params.pages }}
        <div>
        {{ if $val }}
        <a href="{{ $val }}">{{ add 1 $index }}</a>
        {{ else }}
        {{- add 1 $index -}}
        {{ end }}
        </div>
        {{ end }}
    </nav>
    {{ end }}
</div>
Let’s verify that the new page nav markup is rendering in the layout as expected. Stop the Hugo dev server, Ctrl+C and restart at www.
hugo server -D
Load the sample-post, e.g., http://localhost:1313/2019/03/sample-post/
You should see the page nav below the post date.
Here is a bit of css to display the nav across from the post date using flexbox.
.dateline {
    display: flex;
    justify-content: space-between;
    align-items: center
}

nav.content div {
    display: inline-block;
    padding: 0 .5em;
    border: 1px solid #bbb;
    text-align: center
}
With the css style above, our pages pagination looks a little better: